How to Create a Simple, Free Blog with Jekyll and GitHub Pages
Authoring technical content is a skill. Like any skill, the only way to improve it is to practice. An easy way to author and share technical content is to create a blog and share your technology experience with others on the Internet. A common misconception is that creating your own website or blog requires technical expertise (such as experience with databases, web servers, a content management system like WordPress, or virtual machines) and financial investment (renting a virtual machine from a public cloud provider or hosting your own within your homelab).
Ideally, we should have three goals when creating and maintaining a blog:
- No/Low-Cost - Free or as close to free as possible.
- Productive - Easy to write in and easy to maintain.
- Cloud Native - Utilizes public cloud services for hosting, allowing for infinite scaling.
We can use the following technologies to accomplish these goals:
- Markdown - A markup language that is extremely easy to read natively, easy to write in, and can be easily converted into HTML.
- Jekyll - A static site generator written in Ruby that allows for content written in Markdown to be rendered into HTML webpages.
- GitHub Pages - A GitHub service that hosts web content (such as HTML webpages) stored in a GitHub repository.
In this post, we will show how you can create your own blog for free using the above technologies through the Jekyll Now project created by Barry Clark.
Clone the Jekyll Now GitHub Repository
If you do not have an existing GitHub account, you can create one for free here. Once your GitHub account is created, log into your account here.
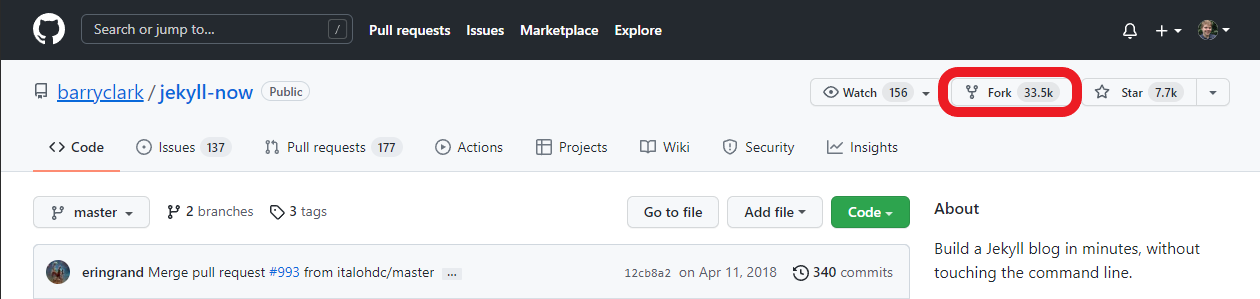
Navigate to the Jekyll Now repository, then left-click on the “Fork” button in the upper right corner of the screen. An example is below with the “Fork” button highlighted in red.
If your GitHub account has an organization associated with it, a pop-up window may appear asking you where you would like to fork the repository. Select your account from the list that appears. An example is below with the name of my GitHub account (ChristopherJHart) highlighted in red.
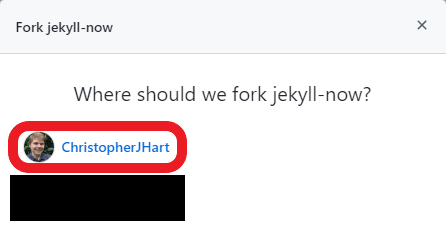
If your GitHub account is not associated with an organization, then this pop-up window will not appear.
GitHub will create a new repository named jekyll-now under your account, as shown below.

Change Repository Name
The jekyll-now repository name doesn’t accurately reflect the purpose of this repository, so we should rename it. Left-click on the “Settings” tab near the top of the repository. An example is below with the “Settings” button highlighted in red.

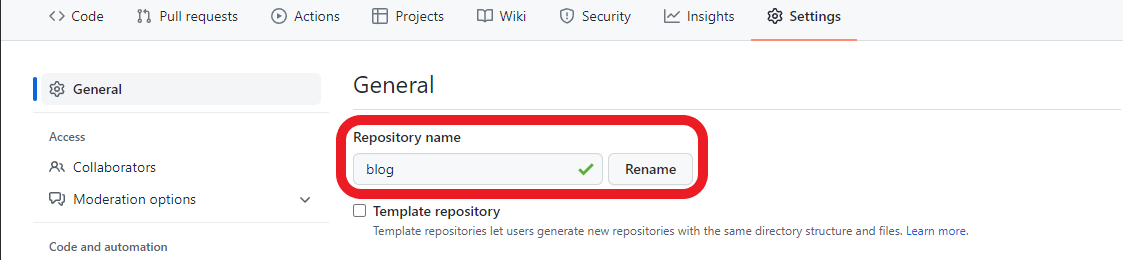
At the top of the middle pane under the “General” section, modify the name of the repository from jekyll-now to a name that reflects the name of your desired blog. If this is your personal blog, simply renaming the repository to blog works perfectly. After GitHub confirms the new repository name is available, left click the “Rename” button. An example is below with the renamed repository and “Rename” button highlighted in red.
In the upper left corner, you will notice that the name of the repository has changed to reflect the new name.

Edit Jekyll Configuration
Lastly, we need to modify the _config.yaml file in our repository to reflect the repository’s name change, as well as modify a few other settings.
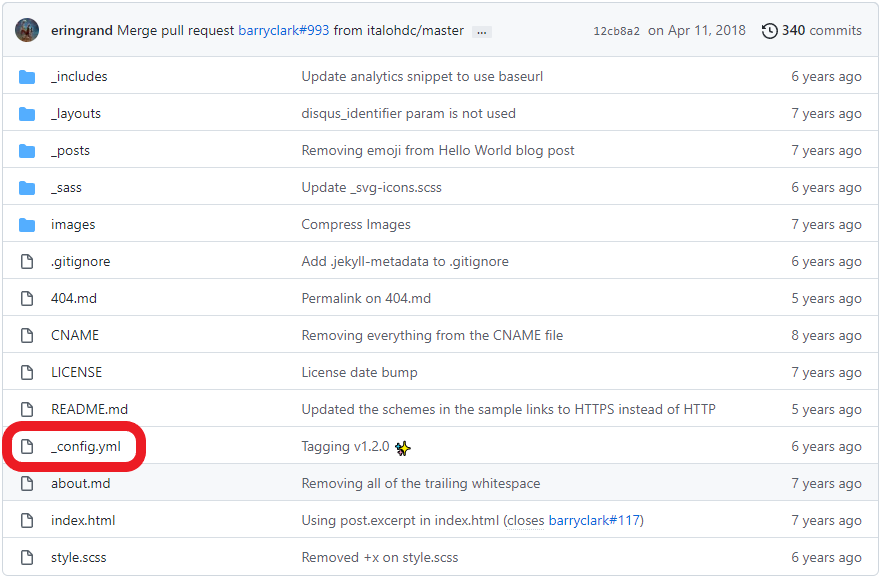
At the homagepage of your repository, you will see a list of files in the middle pane. Locate the _config.yml file in the middle pane. This is a configuration file for Jekyll, which we need to edit. Left click on the _config.yml file. An example is below with the _config.yml file highlighted in red.
The contents of the _config.yml file will appear. Left click on the pencil icon near the upper right corner of the file contents to begin editing this file. An example is below with the pencil icon highlighted in red.
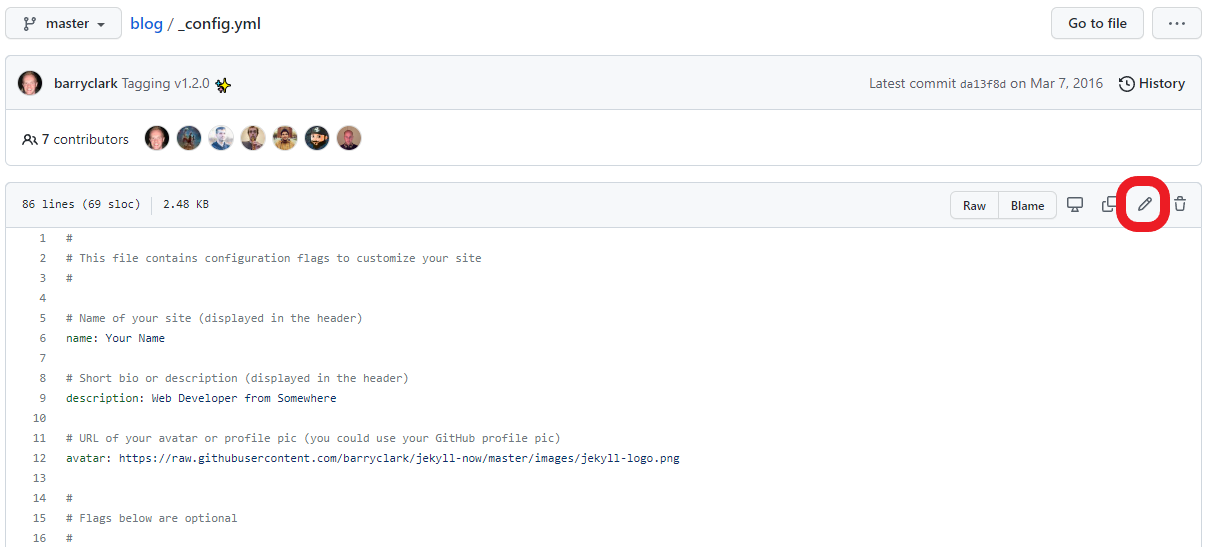
Within the Jekyll configuration file, we will need to change the following settings:
- name - This is the “title” of your website. For a personal blog, you will usually set this to your name (for example, “Christopher Hart”).
- description - This is a short tagline describing the contents of your website or blog.
- avatar - This is a URL pointing to an image that will be displayed within the website’s theme. For a personal blog, this could be a professional headshot or an avatar you create using an app like Picrew.
- baseurl - This is the name of your GitHub repository preprended by a backslash (
/). This ensures GitHub Pages publishes your website using the correct subdirectory.
An example of these edited settings is below.
1
2
3
4
5
6
7
8
9
10
11
12
13
14
# Name of your site (displayed in the header)
name: Christopher Hart

# Short bio or description (displayed in the header)
description: Changing the world's networks, one Python script at a time

# URL of your avatar or profile pic (you could use your GitHub profile pic)
avatar: https://avatars3.githubusercontent.com/u/13562529

# If you're hosting your site at a Project repository on GitHub pages
# (http://yourusername.github.io/repository-name)
# and NOT your User repository (http://yourusername.github.io)
# then add in the baseurl here, like this: "/repository-name"
baseurl: "/blog"
You may also want to edit the settings under footer-links to point to your social media so that readers can follow your activity on other platforms.
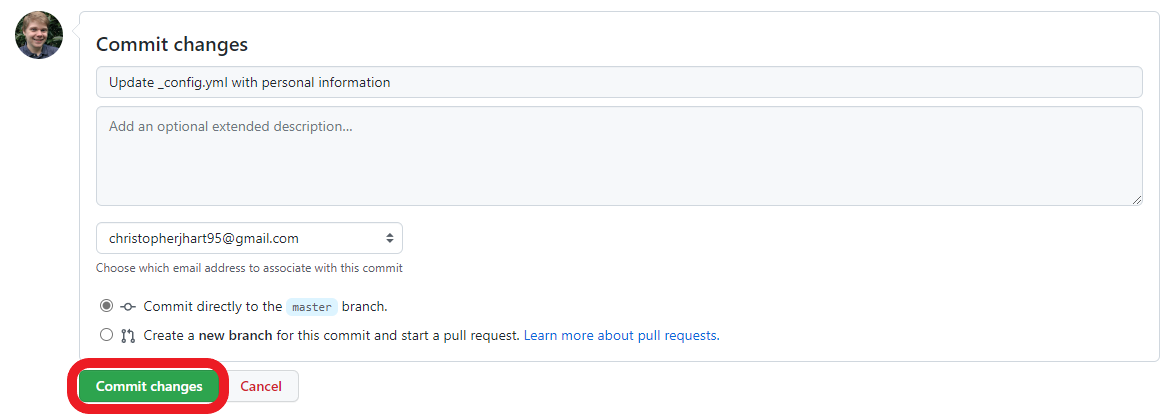
Once you have finished editing this file, you need to commit the changes. Scroll down to the bottom of the page and provide a brief description of the changes made to this file, such as “Update _config.yml with personal information”. Then, click the green “Commit changes” button. An example is below with the “Commit changes” button highlighted in red.
Configure GitHub Pages
Next, we need to set up the GitHub Pages component of our blog. This will allow GitHub to automatically build and serve our website whenever changes are made to the underlying repository. First, left click on the “Settings” tab near the top of the repository. An example is below with the “Settings” button highlighted in red.

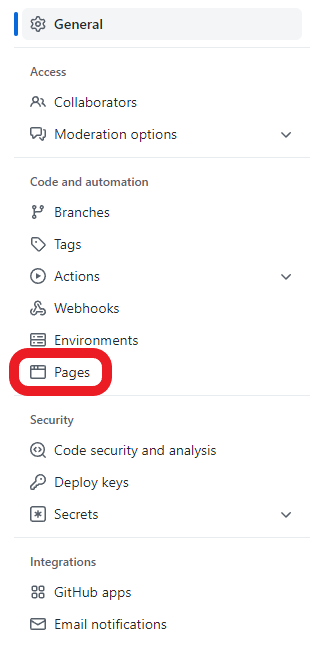
In the left hand pane, locate and left click on the “Pages” category. An example is below with the “Pages” category highlighted in red.
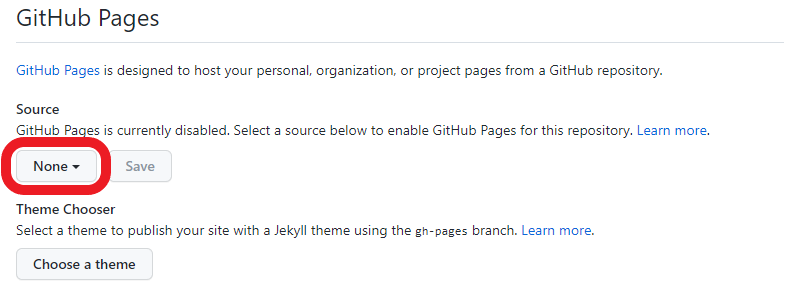
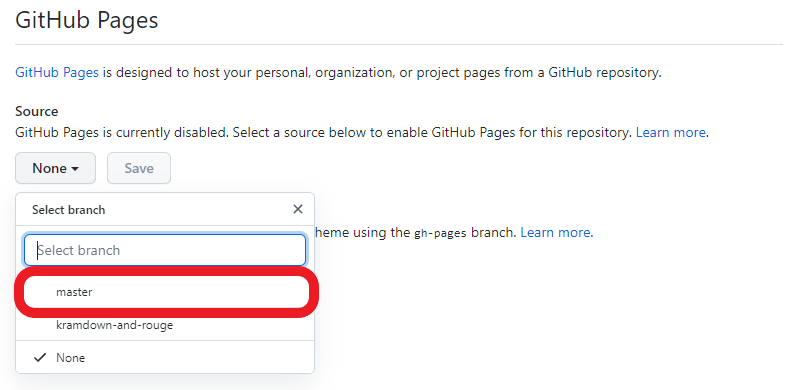
By default, GitHub Pages will be disabled for this repository. To enable it, we need to select a branch for GitHub Pages to build and serve our website from. In the middle pane under the “Source” section, left click on the “None” dropdown menu. An example is below with the “None” dropdown menu highlighted in red.
Left click on the “master” option from the dropdown menu that appears. This will allow GitHub Pages to build and serve our website based upon changes made in the master branch of our repository. An example is below with the “master” option from the dropdown menu highlighted in red.
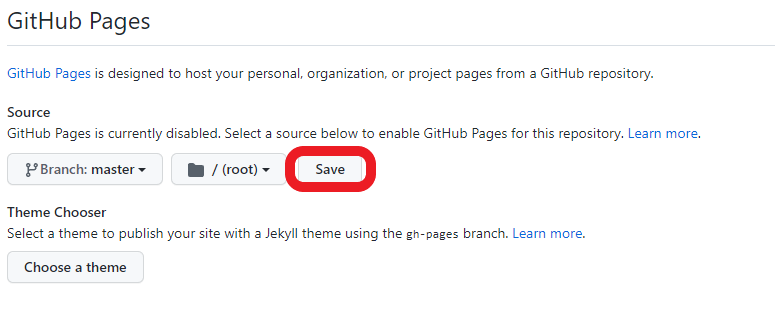
Then, left click on the “Save” button to the right of the branch selection dropdown menu. An example is below with the “Save” button highlighted in red.
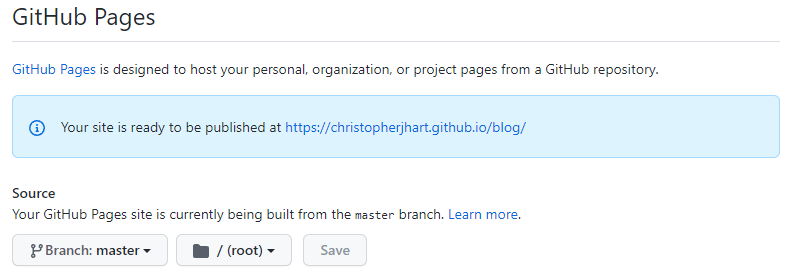
In a blue notification near the top of the middle pane, GitHub will state that our website is ready to be published at a specific URL.
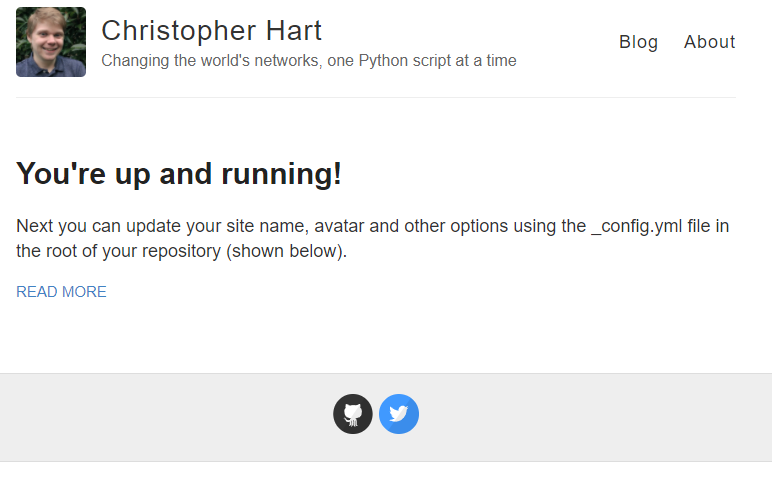
GitHub will build and deploy our website. After a few minutes, following the URL in this blue notification will show our website, as shown below.
Create Your First Post
Now that our website is built and automatically deployed, we can write our first blog post. Navigate back to the root of your website and locate the _posts directory in the middle pane. An example is below with the _posts directory highlighted in red.
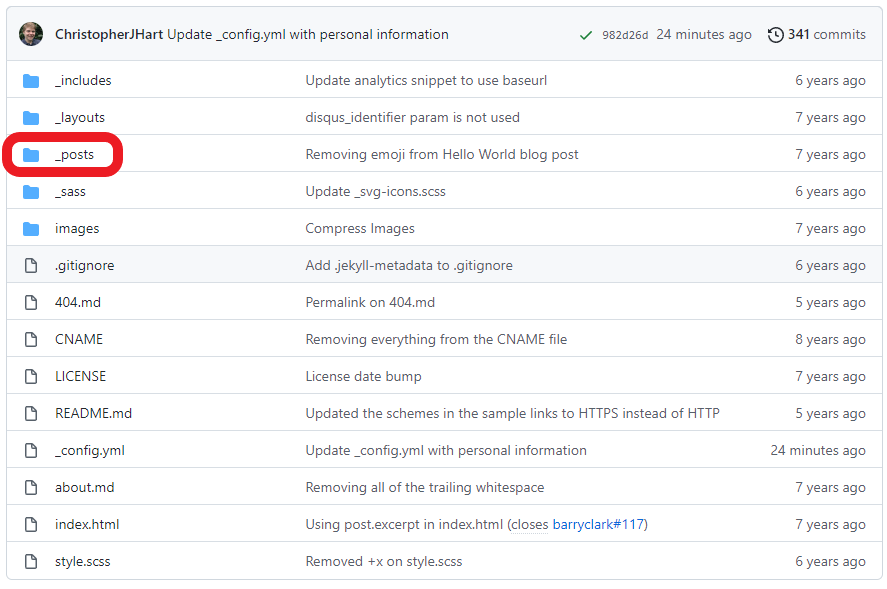
You will see a single file in this directory named 2014-3-3-Hello-World.md, which is a sample blog post included in the repository.

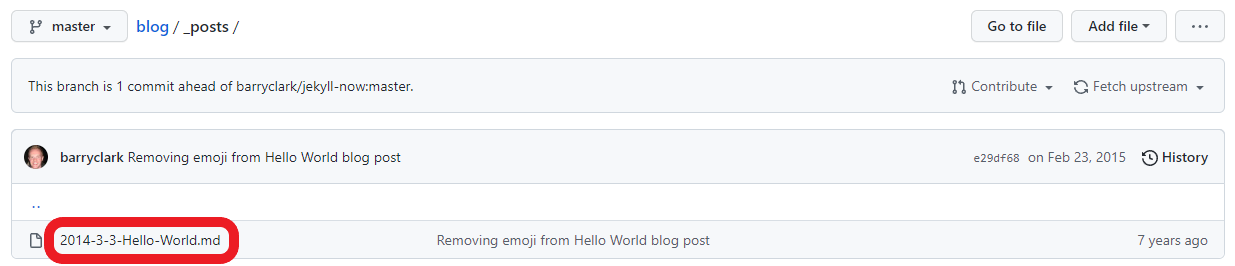
Notice the format of this file’s name - the name starts with the date the post is published in a Year-Month-Day format. The name of the blog post follows the date, and the file extension is .md (indicating that it is a Markdown file).
Left click on the 2014-3-3-Hello-World.md file highlighted in red below.
GitHub will display a rendered version of this file’s contents - however, to learn how to write a new blog post, we will want to see the raw contents of this file. Left click on the “Raw” button in the upper right corner of the middle pane to see the raw contents of this file. An example is below with the “Raw” button highlighted in red.
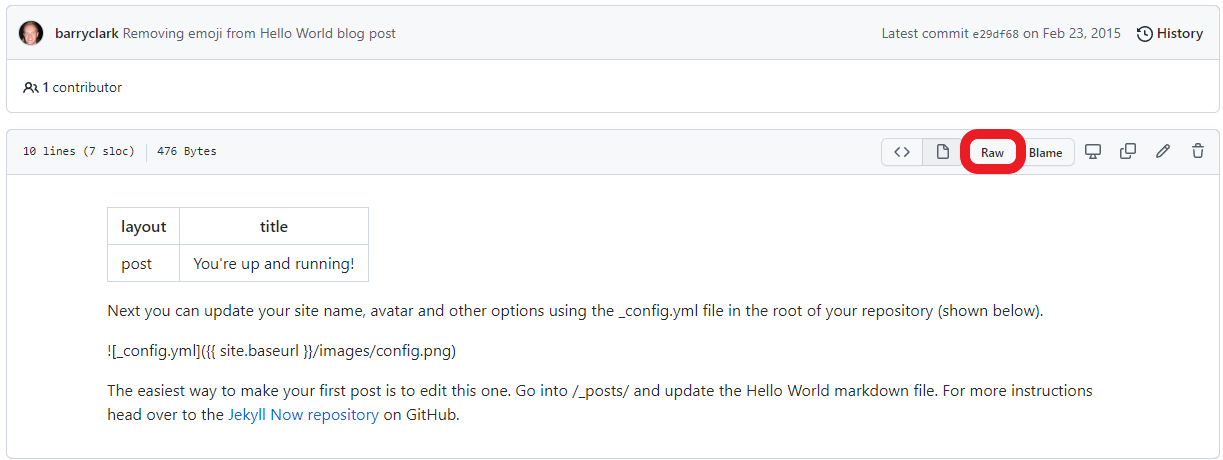
You will see the raw contents of the file, which will look similar to the following.
1
2
3
4
5
6
7
8
9
10
11
---
layout: post
title: You're up and running!
---
Next you can update your site name, avatar and other options using the _config.yml file in the root of your repository (shown below).

The easiest way to make your first post is to edit this one. Go into /_posts/ and update the Hello World markdown file. For more instructions head over to the [Jekyll Now repository](https://github.com/barryclark/jekyll-now) on GitHub.
In Jekyll, all posts start with some metadata at the top of the file containing information about the file. This metadata is surrounded by three dashes (---). In this case, two options are defined - layout, which defines this file as a blog post, and title, which defines the title of this blog post.
After this metadata, the post itself is written in Markdown. The only key difference worth calling out is the use of the {{ site.baseurl }} variable when hyperlinking to other posts or displaying images. This ensures that the content you are referencing is relative to the website’s base URL, which gives you flexibility in your website’s URL and reduces the amount of work you need to do if your website’s URL changes in the future.
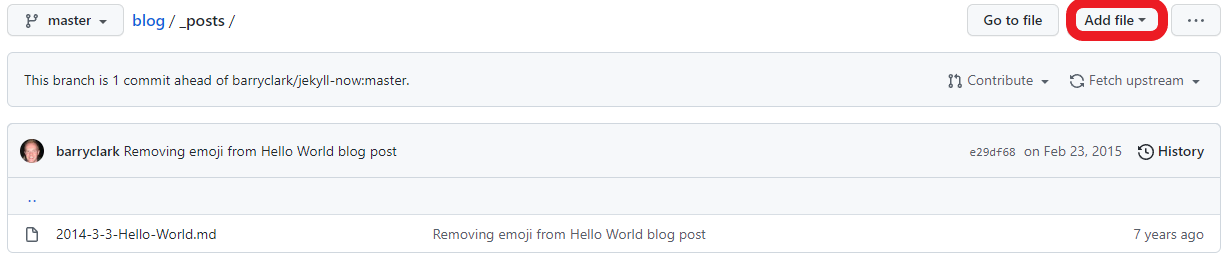
Now that we understand the format of a post, let’s create a new blog post. Navigate back to the _posts directory.
In the upper right corner, left click on the “Add file” dropdown menu. An example is below with the “Add file” drop down menu highlighted in red.
Select the “Create new file” option from the dropdown menu. An example is below with the “Create new file” option highlighted in red.

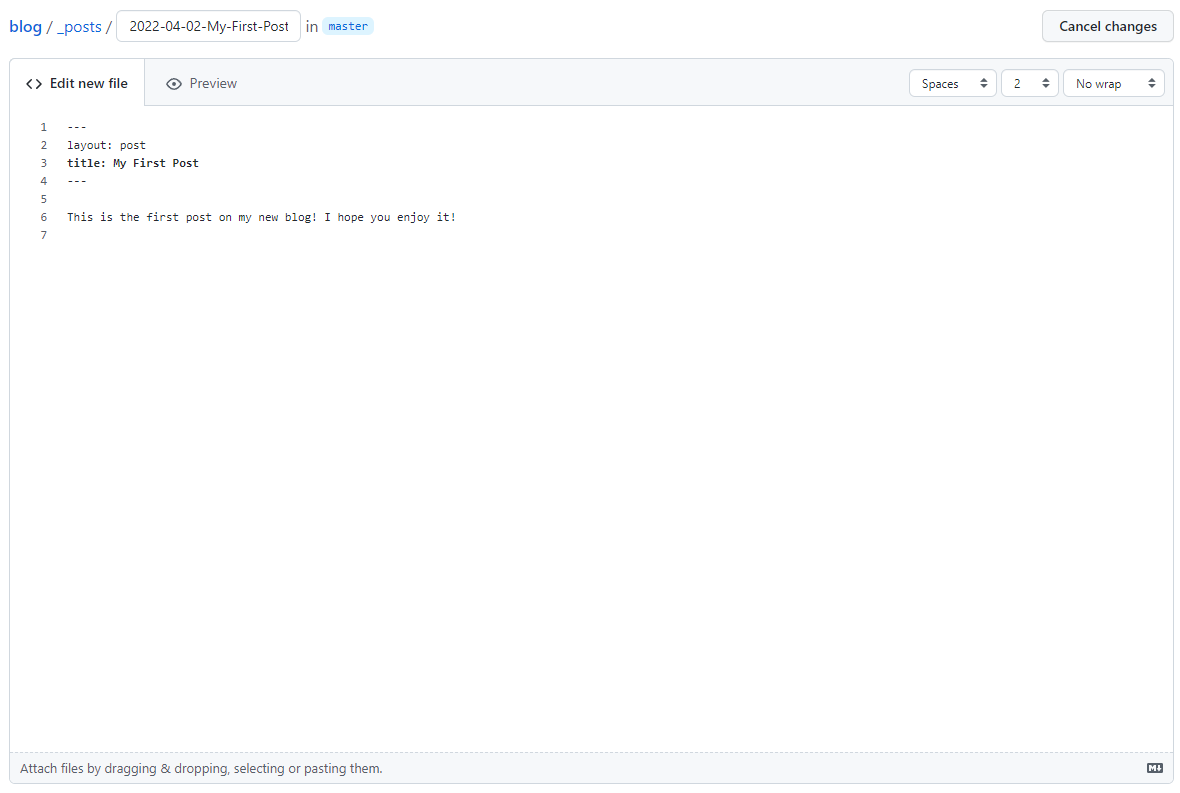
The window that appears allows you to create a new file in the _posts directory with a specific name and contents inside. I will create a file named 2022-04-02-My-First-Post.md with the contents below.
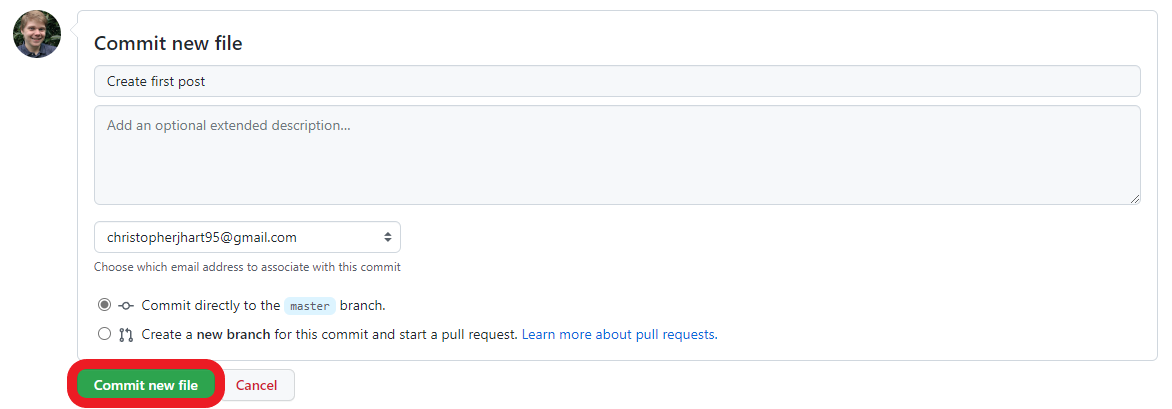
Scroll down to the bottom of the page and provide a brief description of the changes made to this file, such as “Create first post”. Then, click the green “Commit changes” button. An example is below with the “Commit changes” button highlighted in red.
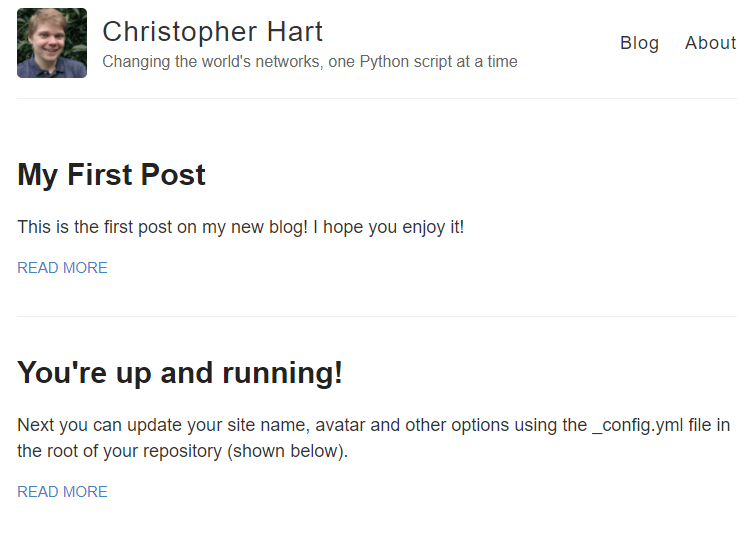
GitHub will detect that changes have occurred in the master branch. GitHub will automatically build and deploy your changes so that they’re public-facing. If you refresh your website after a few minutes, you should see the new post you created appear.
Conclusion
Using a static site generator such as Jekyll alongside a free hosting service like GitHub Pages lets you quickly author and share technical content in a blog format. Creating content in Markdown is highly productive, as you can maximize the amount of time creating content compared to the amount of time worrying about the presentation of the content. Most importantly, this solution is completely free, which means it is highly accessible to all content creators across the globe!